3.1.1 MIPI Camera User Guide
Last Version: 10/09/2025
This guide explains how to set up a MIPI camera on SpacemiT development board, capture images using the JDK C++ interface, and troubleshoot common issues.
Environment Setup
Hardware Connection
-
Connect the MIPI camera module to the MIPI CSI port on the development board. Refer to the figure below for correct orientation:

-
Connect the development board to a monitor using an HDMI cable for image output.
Device Testing
Auto-Detect Camera Type
-
Identify which CSI port (CSI1 – CSI3) the camera is connected to. Run the detection command (example for CSI1):
cam-test /usr/share/camera_json/csi1_camera_detect.json -
If the camera is supported, the system will auto-detect the device, you should see logs like:
...
I: ./sensors/cam_sensors_module.c(239): "detect imx219_spm sensors in csi3: success, set 1920x1080 to 1920x1080"
I: auto_detect_camera(1430): "auto detect sensor ===================== finish "
E: update_json_file(709): "Open /usr/share/camera_json/csi3_camera_auto.json file fail"
E: update_json_file(709): "Open /usr/share/csi3_camera_auto.json file fail"
I: update_json_file(723): "save json to /tmp/csi1_camera_auto.json success"
A configuration file will be saved under
/tmp/.
⚠️ If unsure about the port:
- Check the MUSE Series Development Board User Manual
- Or test CSI1 through CSI3 in turn.
- If still not detected, the camera may be faulty or unsupported. In that case, see the Camera Development Guide | Bianbu Linux for adaptation steps.
Configure Virtual Camera Model
-
Copy the auto-generated camera configuration file to the specified path
/root/and rename it assvivi_cam1.json:sudo cp /tmp/csi1_camera_auto.json /root/svivi_cam1.json -
Edit the JSON file
svivi_cam1.jsonand add the following field at the top level to enable Virtual Camera mode:"use_v4l": 1
Test with V4L2 Tool
Use the v4l2_test_spacemit tool for image capture testing.
-
Download and build the v4l2_test_spacemit tool:
mkdir v4l2_test_spacemit
wget https://archive.spacemit.com/ros2/code/v4l2_test_spacemit.tar.gz
tar xvzf v4l2_test_spacemit.tar.gz
gcc v4l2_capture.c v4l2_main.c v4l2_output.c v4l2_stream.c v4l2_common.c -o v4l2_test_spacemit --static -
Run a capture test:
./v4l2_test_spacemit \
  --device /dev/video50 \
  --set-fmt-video width=1920,height=1080,pixelformat=NV12 \
  --verbose \
  --stream-dmabuf \
  --stream-loop \
  --stream-save 10 \
--stream-to=test.yuv -
If successful, you will see output like:
VIDIOC_DQBUF: ok, type:9
do_handle_cap:723 [INFO] m2m capture dequeue: 15 -
Press Ctrl+C to stop the test.
⚠️ Notes:
- Maximum supported resolution: 1920×1080 (1080p)
- Supported image format: NV12
- Memory type required: dmabuf
If this test passes, the MIPI camera is working and ready for application development.
Advanced Development (C++ SDK)
Use the JDK Camera SDK for advanced control and image processing.
C++ Sample Code
auto camera = JdkCamera::create("/dev/video50", 1920, 1080, V4L2_PIX_FMT_NV12);
auto jdkvo = std::make_shared<JdkVo>(1920, 1080, PIXEL_FORMAT_NV12);
auto frame = camera->getFrame();
auto ret = jdkvo->sendFrame(frame);
Quick Integration: JDK Camera Capture SDK
Download and Install JDK SDK
wget https://archive.spacemit.com/ros2/code/jdk_sdk.tar.gz
sudo tar xvf jdk_sdk.tar.gz -C /opt/
mv /opt/jdk_sdk /opt/jdk
Directory structure:
/opt/jdk
├── include
├── jdk_examples
├── ko
├── lib
├── Makefile
└── README.md
Download and Extract jdk_cam
wget https://archive.spacemit.com/ros2/code/jdk_cam.tar
tar xvf jdk_cam.tar
Directory structure:
jdk_cam/
├── Makefile
├── src/main.cpp
└── workspace/
Build and Run
cd jdk_cam
make all
insmod /opt/jdk/ko/jdk_dma.ko
./workspace/jdk_cam /dev/video50
Startup Log Sample
start buffer preprocessing
start buffer queue
VIDIOC_STREAMON succeeded
[MPP-DEBUG] 10419:VO_CreateChannel:43 create VO Channel success!
[MPP-DEBUG] 10419:module_init:159 +++++++++++++++ module init, module type = 101
[MPP-DEBUG] 10419:check_vo_sdl2:121 yeah! have vo_sdl2---------------
[MPP-DEBUG] 10419:find_vo_sdl2_plugin:86 yeah! we have vo_sdl2_plugin plugin---------------
[MPP-DEBUG] 10419:module_init:207 ++++++++++ VO_SDL2 (/usr/lib/libvo_sdl2_plugin.so)
[MPP-DEBUG] 10419:module_init:207 ++++++++++ open (/usr/lib/libvo_sdl2_plugin.so) success !
[MPP-ERROR] 10419:al_vo_init:93 SDL could not initialize! SDL_Error: wayland not available
[MPP-ERROR] 10419:al_vo_init:128 k1 vo_sdl2 init fail
[MPP-DEBUG] 10419:VO_Init:66 init VO Channel, ret = -400
[MPP-ERROR] 10419:JdkVo:32 VO_init failed, please check!
[MPP-DEBUG] 10419:VO_Process:82 vo one packet, ret = 0
index:0,dma_fd:12 width:1920,height:1080,size:3110400
Output Result
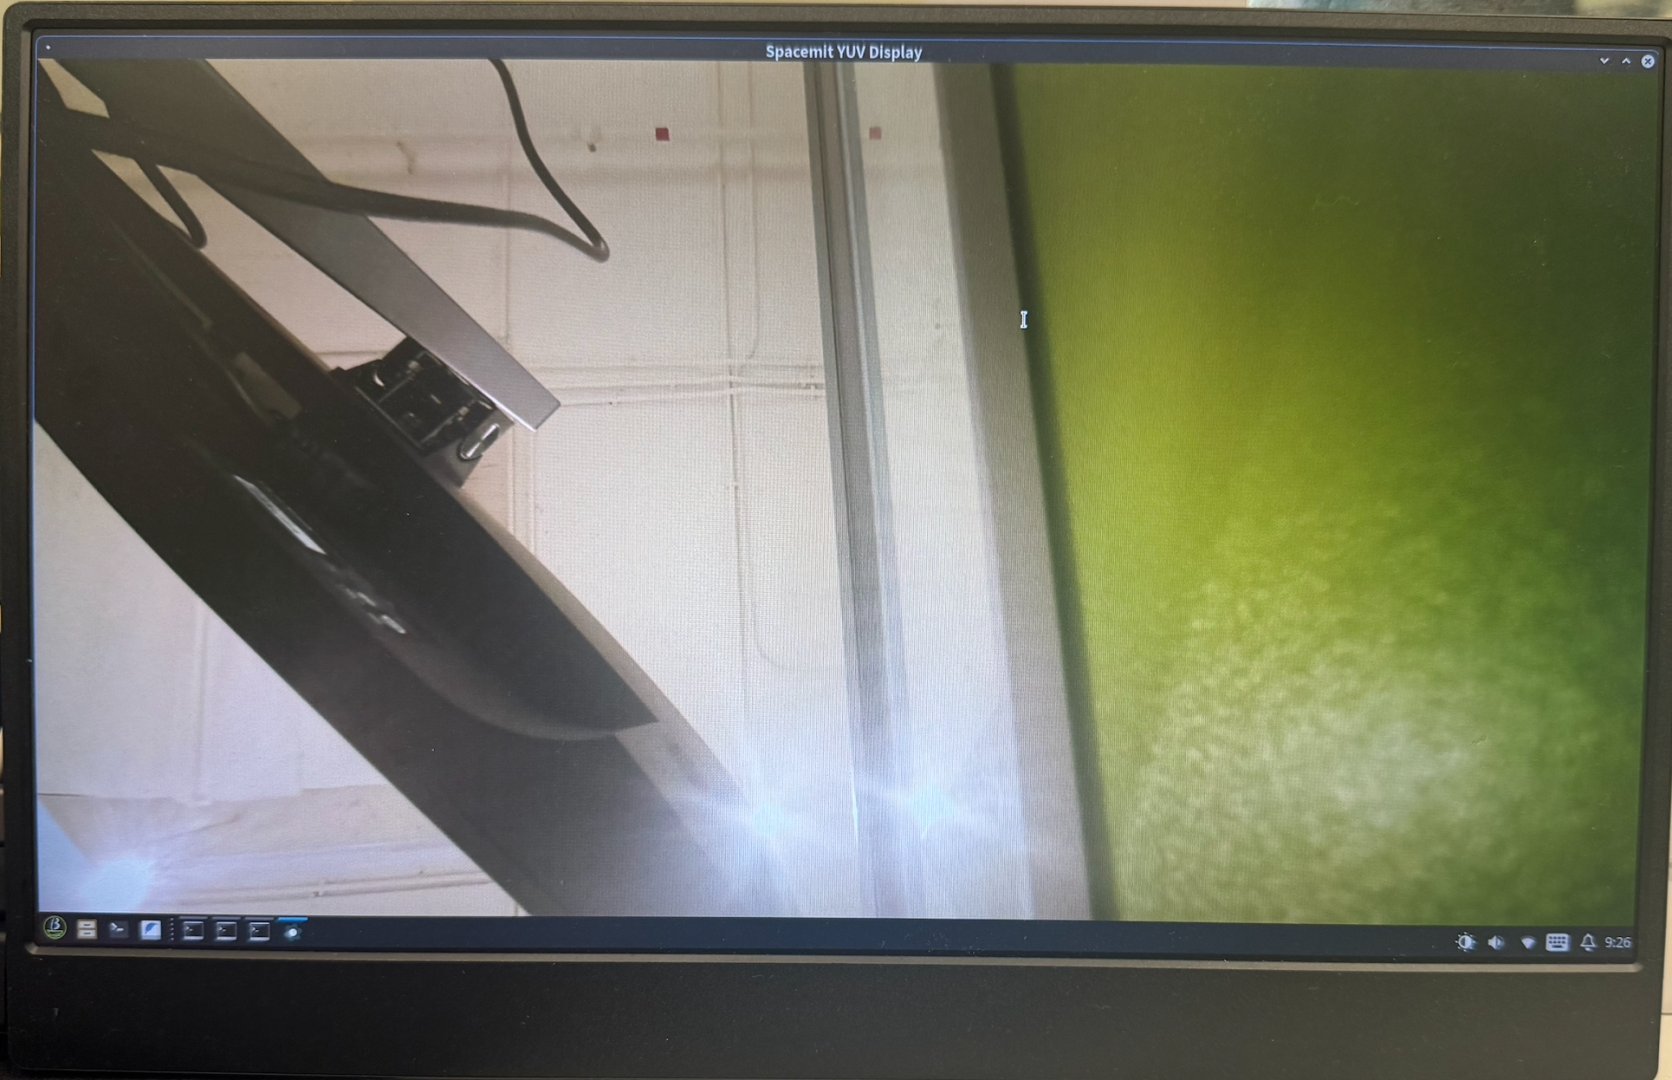
When the program runs, the camera image should appear in real-time on the HDMI monitor:
Common Issues & Recommendations
| Issue | Description |
|---|---|
| Camera not detected | Verify CSI port, try other ports, confirm camera model |
| Config file not created | Camera not recognized or driver not supported |
| SDL error | Missing graphical library dependency; does not affect image capture |
| No image display | Check vo initialization logs and verify display channel & permissions |