5.3.2 目标检测
YOLO 模型简介
本示例展示如何基于 SpaceMiT 智算核,使用图片或视频流作为输入,执行 YOLO 系列目标检测模型的推理,并通过 ROS 2 发布检测结果(包括目标类别与边界框坐标)。
支持模型版本
- YOLOv5
- YOLOv6
- YOLOv8
- YOLOv11 等
ONNX 格式模型可通过 ⭐ Bianbu AI Demo Zoo 下载获取,所有模型基于 COCO 数据集 训练,支持 80 类常见目标,如人物、动物、水果、交通工具等。
�应用优势
- 推理速度快
- 精度高,泛化能力强
- 部署简单,资源占用低
应用场景
- 自动驾驶:行人和车辆识别
- 智能家居:垃圾分类、监控识别
- 智慧安防:异常行为检测、跌倒识别
环境准备
安装依赖
sudo apt install python3-opencv ros-humble-cv-bridge ros-humble-camera-info-manager \
ros-humble-image-transport python3-spacemit-ort
导入 ROS2 环境
source /opt/bros/humble/setup.bash
模型配置查看
可执行以下命令,查看当前系统中已支持的模型配置:
ros2 launch br_perception infer_info.launch.py | grep 'detection'
示例输出:
  - config/detection/yolov8.yaml
  - config/detection/yolov6.yaml
  - config/detection/yolov11_640.yaml
  - config/detection/yolov5.yaml
  - config/detection/yolov11_320.yaml
后续推理时,将 config_path 设置为相应的 .yaml 文件路径,即可使用对应 YOLO 模型。
图片推理
准备图片
cp /opt/bros/humble/share/jobot_infer_py/data/detection/test.jpg .
本地保存推理结果
ros2 launch br_perception infer_img.launch.py \
  config_path:='config/detection/yolov6.yaml' \
  img_path:='./test.jpg'
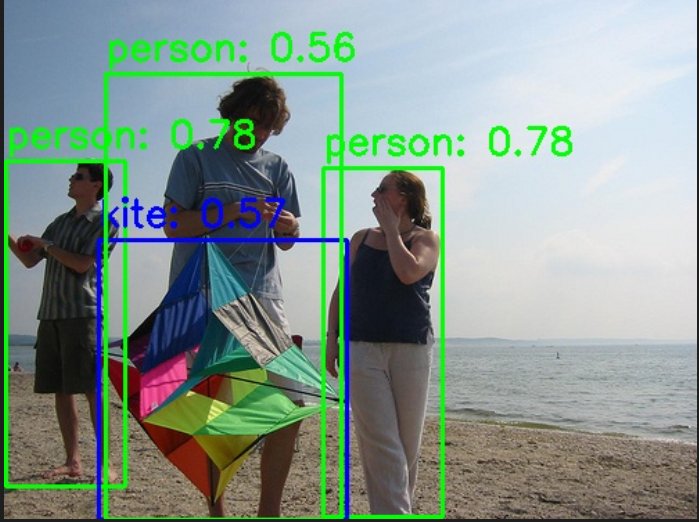
输出结果将保存在当前目录的 det_result.jpg 中,如图所示。
Web 可视化推理结果
启动推理发布节点(终端 1):
ros2 launch br_perception infer_img.launch.py \
  config_path:='config/detection/yolov6.yaml' \
  img_path:='./test.jpg' \
  publish_result_img:=true \
  result_img_topic:='result_img' \
  result_topic:='/inference_result'
启动 Web 可视化服务(终端 2��):
ros2 launch br_visualization websocket_cpp.launch.py image_topic:='/result_img'
终端提示访问地址:
...
Please visit in your browser: http://<IP>:8080
...
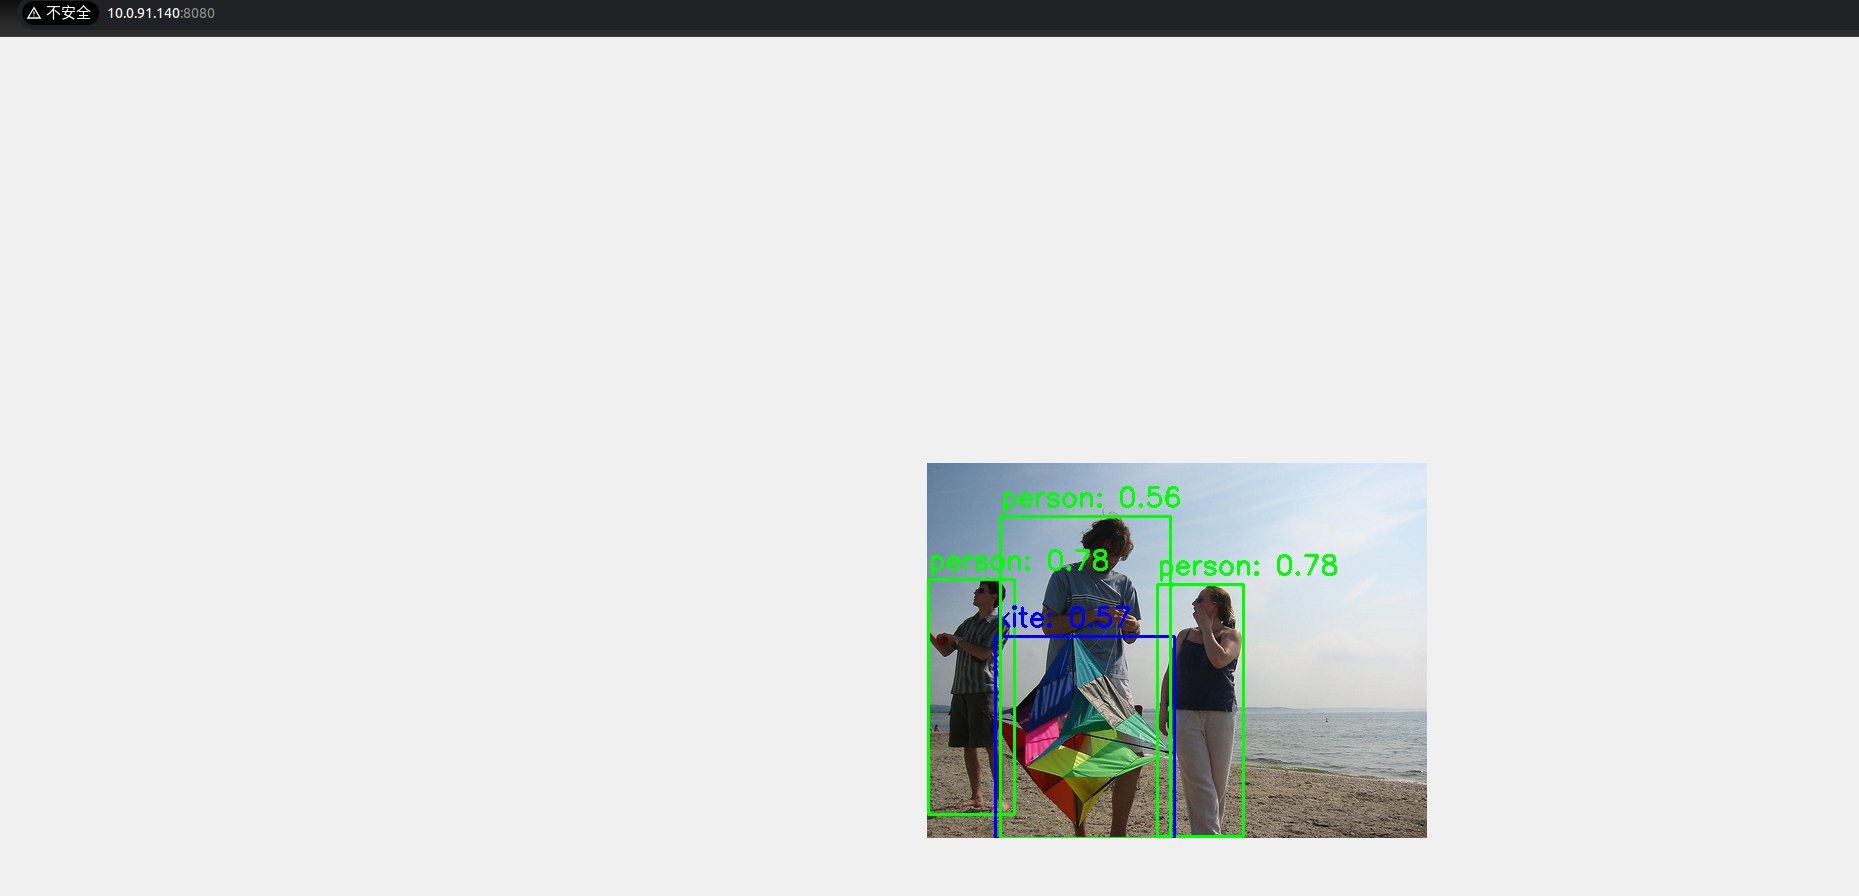
打开浏览器输入 http://<IP>:8080,即可查看实时推理图像结果。
消息查看与订阅
推理结果通过 /inference_result 话题发布,可执行下述命令订阅查看:
ros2 topic echo /inference_result
输出如下:
header:
  stamp:
    sec: 1745571001
    nanosec: 597668762
  frame_id: camera_link
results:
- x_min: 109
  y_min: 99
  width: 149
  height: 316
  label: bottle
  conf: 0.4000000059604645
- x_min: 270
  y_min: 209
  width: 150
  height: 249
  label: bottle
  conf: 0.4000000059604645
- x_min: -1
  y_min: 424
  width: 326
  height: 55
  label: sink
  conf: 0.30000001192092896
---
查看消息格式定义
ros2 interface show jobot_ai_msgs/msg/DetectionResultArray
结构示例:
std_msgs/Header header
    builtin_interfaces/Time stamp
        int32 sec
        uint32 nanosec
    string frame_id

jobot_ai_msgs/DetectionResult[] results
    int32 x_min
    int32 y_min
    int32 width
    int32 height
    string label
    float32 conf
Python 订阅推理结果示例
from rclpy.node import Node
from std_msgs.msg import Header
from jobot_ai_msgs.msg import DetectionResultArray, DetectionResult
import rclpy

class DetectionSubscriber(Node):
    def __init__(self):
        super().__init__('detection_sub')
        self.subscription = self.create_subscription(
            DetectionResultArray,
            '/detections',
            self.listener_callback,
            10)

    def listener_callback(self, msg: DetectionResultArray):
        self.get_logger().info(f"Frame: {msg.header.frame_id}")
        for det in msg.results:
            self.get_logger().info(
                f"[{det.label}] ({det.x_min},{det.y_min}) "
                f"{det.width}x{det.height} conf={det.conf:.2f}"
            )

def main(args=None):
    rclpy.init(args=args)
    node = DetectionSubscriber()
    rclpy.spin(node)
    node.destroy_node()
    rclpy.shutdown()

main()
参数说明
infer_img.launch.py 的参数说明
| 参数名称 | 作用 | 默认值 |
|---|---|---|
| config_path | 配置推理时使用的模型 | config/detection/yolov6.yaml |
| img_path | 推理时使用的图片路径 | data/detection/test.jpg |
| publish_result_img | 是否以图像消息的形式发布推理结果 | false |
| result_img_topic | 发布的渲染图像消息名,publish_result_img为true时才有效 | /result_img |
| result_topic | 发布的推理结果消息名 | /inference_result |
视频流推理
启动相机(USB 示例)
ros2 launch br_sensors usb_cam.launch.py video_device:="/dev/video20"
启动推理并发布结果
启动推理(终端 1):
ros2 launch br_perception infer_video.launch.py \
  config_path:='config/detection/yolov6.yaml' \
  sub_image_topic:='/image_raw' \
  publish_result_img:=true \
  result_topic:='/inference_result'
Web 显示(终端 2):
ros2 launch br_visualization websocket_cpp.launch.py image_topic:='/result_img'
终端提示访问地址:
...
Please visit in your browser: http://<IP>:8080
...
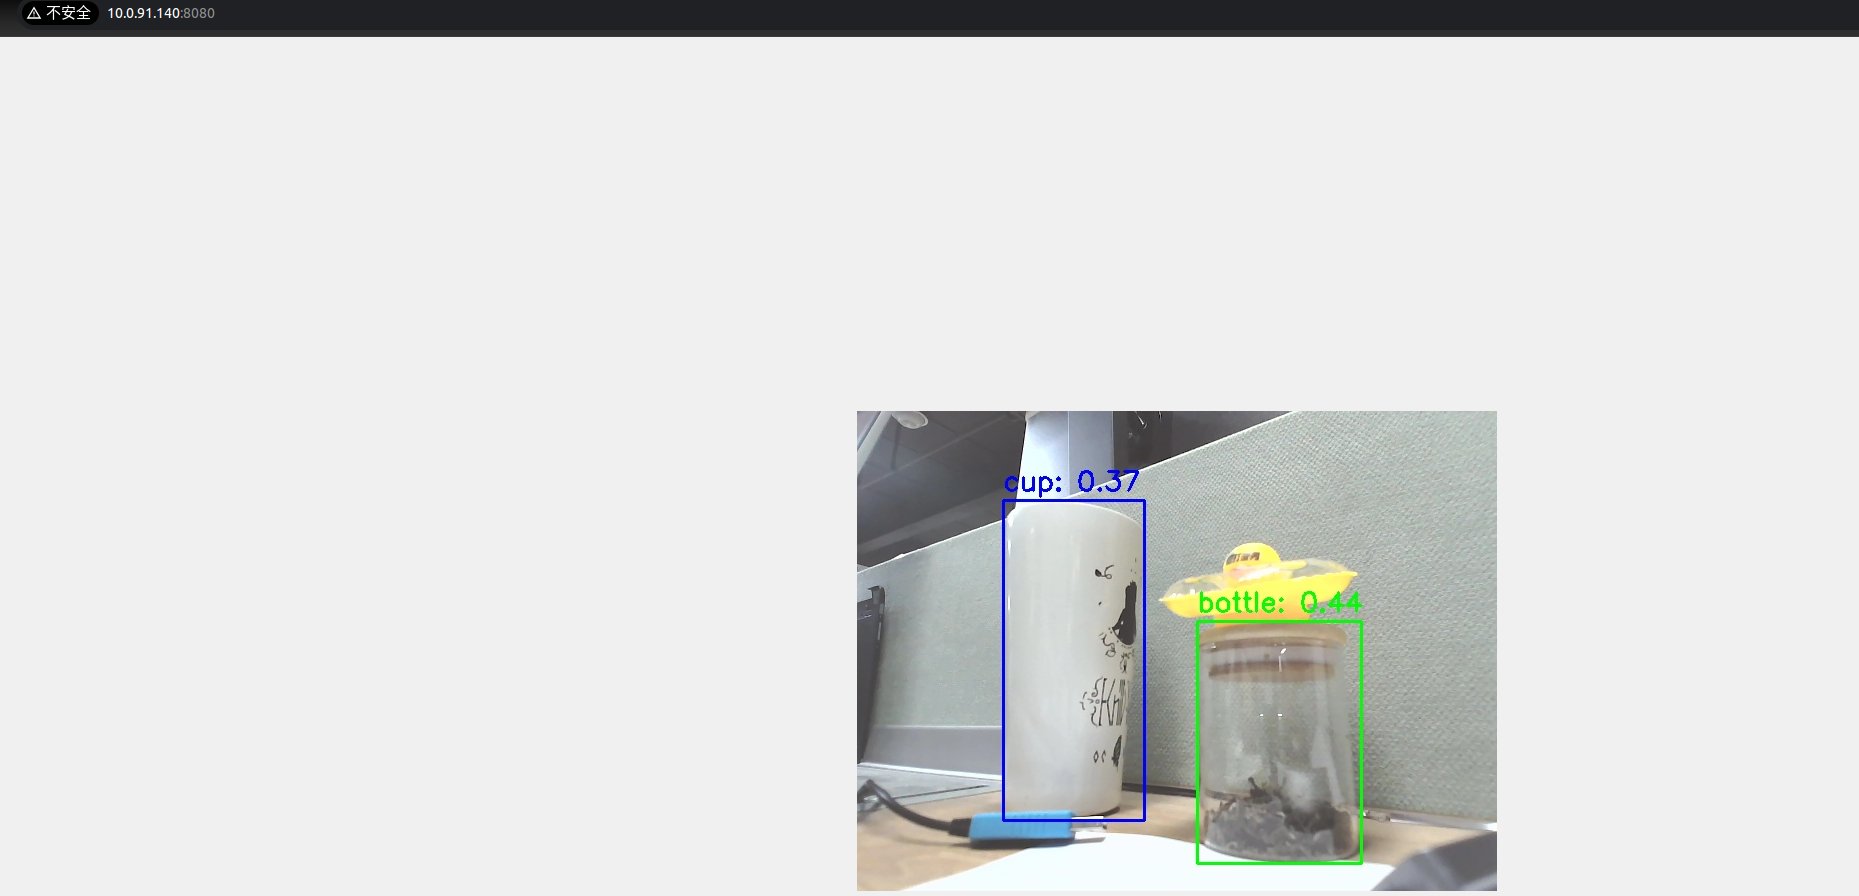
打开浏览器输入 http://<IP>:8080,即可查看实时推理图像结果。
无可视化(仅数据输出)
如果你只想要拿到模型推理的结果,运行下述命令:
ros2 launch br_perception infer_video.launch.py \
  config_path:='config/detection/yolov6.yaml' \
  sub_image_topic:='/image_raw' \
  publish_result_img:=false \
  result_topic:='/inference_result'
通过 ros2 topic echo /inference_result 话题获取数据。
消息查看和订阅
打印/inference_result话题:
ros2 topic echo /inference_result
header:
  stamp:
    sec: 1745571001
    nanosec: 597668762
  frame_id: camera_link
results:
- x_min: 109
  y_min: 99
  width: 149
  height: 316
  label: bottle
  conf: 0.4000000059604645
- x_min: 270
  y_min: 209
  width: 150
  height: 249
  label: bottle
  conf: 0.4000000059604645
- x_min: -1
  y_min: 424
  width: 326
  height: 55
  label: sink
  conf: 0.30000001192092896
---
消息格式定义 (ros2 interface show jobot_ai_msgs/msg/DetectionResultArray 查看):
bianbu@bianbu:~$ ros2 interface show jobot_ai_msgs/msg/DetectionResultArray
std_msgs/Header header
    builtin_interfaces/Time stamp
        int32 sec
        uint32 nanosec
    string frame_id

jobot_ai_msgs/DetectionResult[] results
    int32 x_min
    int32 y_min
    int32 width
    int32 height
    string label
    float32 conf
python 订阅调用示例
from rclpy.node import Node
from std_msgs.msg import Header
from jobot_ai_msgs.msg import DetectionResultArray, DetectionResult
import rclpy

class DetectionSubscriber(Node):
    def __init__(self):
        super().__init__('detection_sub')
        self.subscription = self.create_subscription(
            DetectionResultArray,
            '/detections',
            self.listener_callback,
            10)

    def listener_callback(self, msg: DetectionResultArray):
        self.get_logger().info(f"Frame: {msg.header.frame_id}")
        for det in msg.results:
            self.get_logger().info(
                f"[{det.label}] ({det.x_min},{det.y_min}) "
                f"{det.width}x{det.height} conf={det.conf:.2f}"
            )

def main(args=None):
    rclpy.init(args=args)
    node = DetectionSubscriber()
    rclpy.spin(node)
    node.destroy_node()
    rclpy.shutdown()

main()
参数说明
infer_video.launch.py 的参数说明
| 参数名称 | 作用 | 默认值 |
|---|---|---|
| config_path | 配置推理时使用的模型 | config/detection/yolov6.yaml |
| sub_image_topic | 订阅的图像消息话题名 | /image_raw |
| publish_result_img | 是否以图像消息的形式发布推理结果 | false |
| result_img_topic | 发布的渲染图像消息名,publish_result_img为true时才有效 | /result_img |
| result_topic | 发布的推理结果消息名 | /inference_result |