1.3 Basic Configuration
This section explains the essential setup tasks for first-time users of the Bianbu ROS system, including network configuration, remote access, and related services.
Network Setup
Bianbu ROS supports both wired Ethernet and Wi-Fi connections.
We recommend configuring the network first to enable remote management and system updates.
Connecting via Ethernet
-
Plug the Ethernet cable into the board’s Ethernet port.
-
The system uses DHCP by default to obtain an IP address automatically.
-
Run the following command to verify the network status:
ip addr -
Look for an interface named
end*(e.g.,end0). Theinetfield under this interface shows your current IP address.
Connecting via Wi-Fi
Bianbu ROS supports Wi-Fi configuration via either the command line or the graphical interface.
Option 1: Command-Line
-
List available Wi-Fi networks:
nmcli device wifi listThis command shows available networks along with their SSID, signal strength, and security type.
-
Connect to a Wi-Fi network:
nmcli device wifi connect <SSID> password <your_wifi_password><SSID>– replace it with your Wi-Fi network name<your_wifi_password>– replace it with the corresponding password
After a successful connection, the system saves the configuration and will reconnect automatically on reboot.
Option 2: Graphical Interface
-
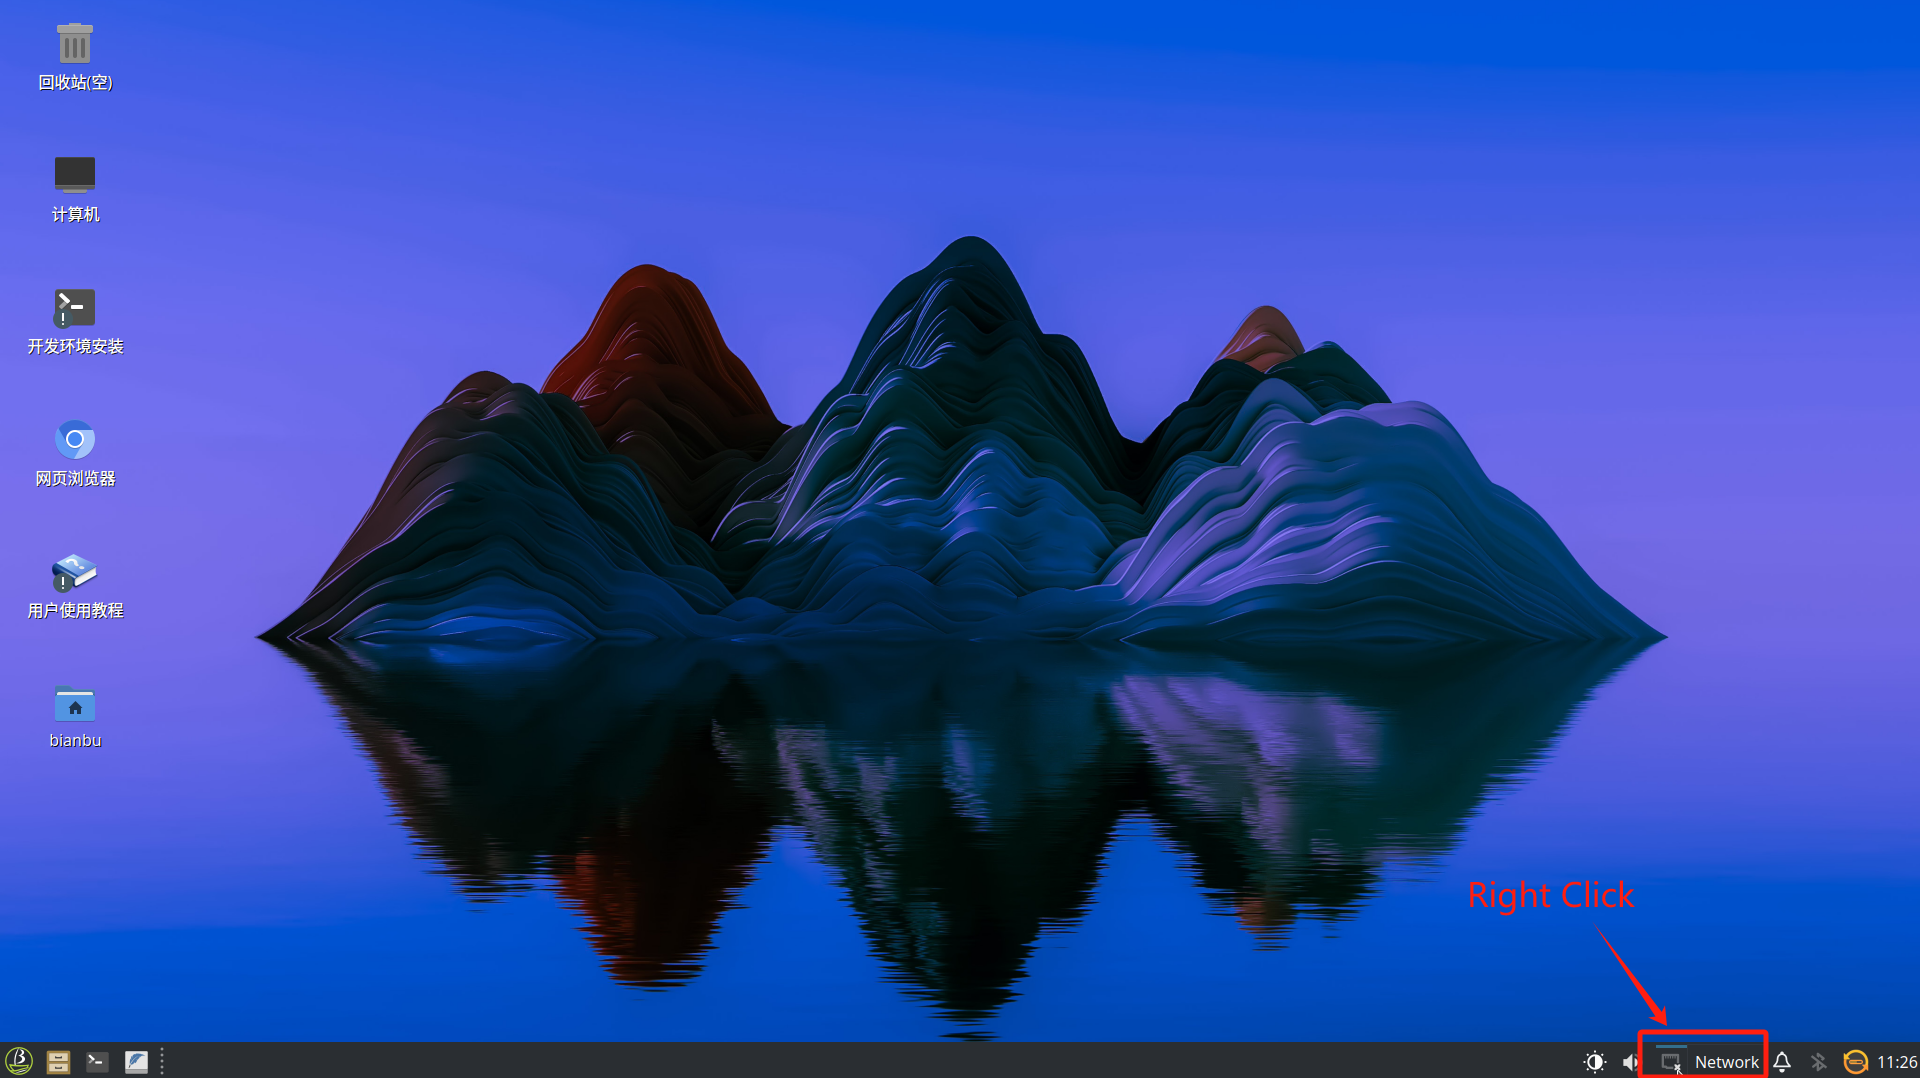
Right-click the network icon in the system tray and select network settings:
-
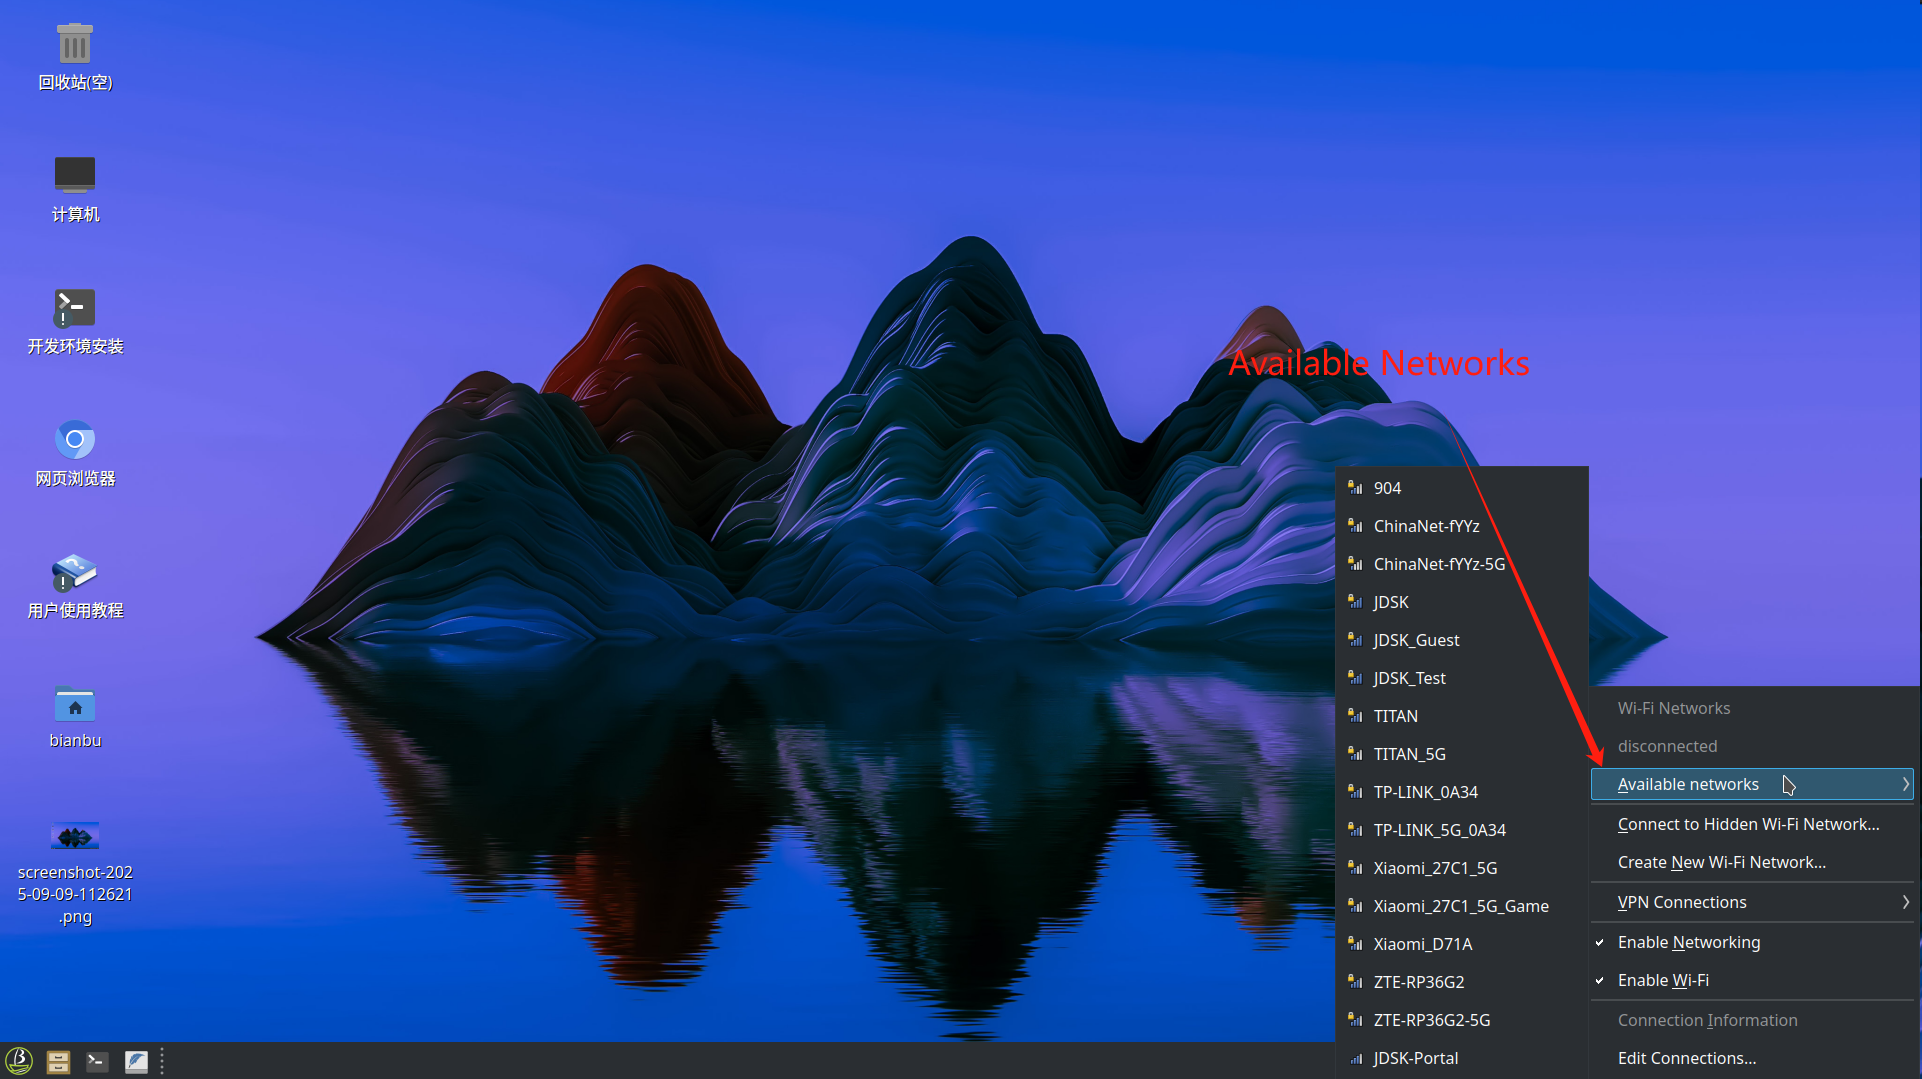
Choose Available Networks and Click the name of the desired Wi-Fi network from the list:
-
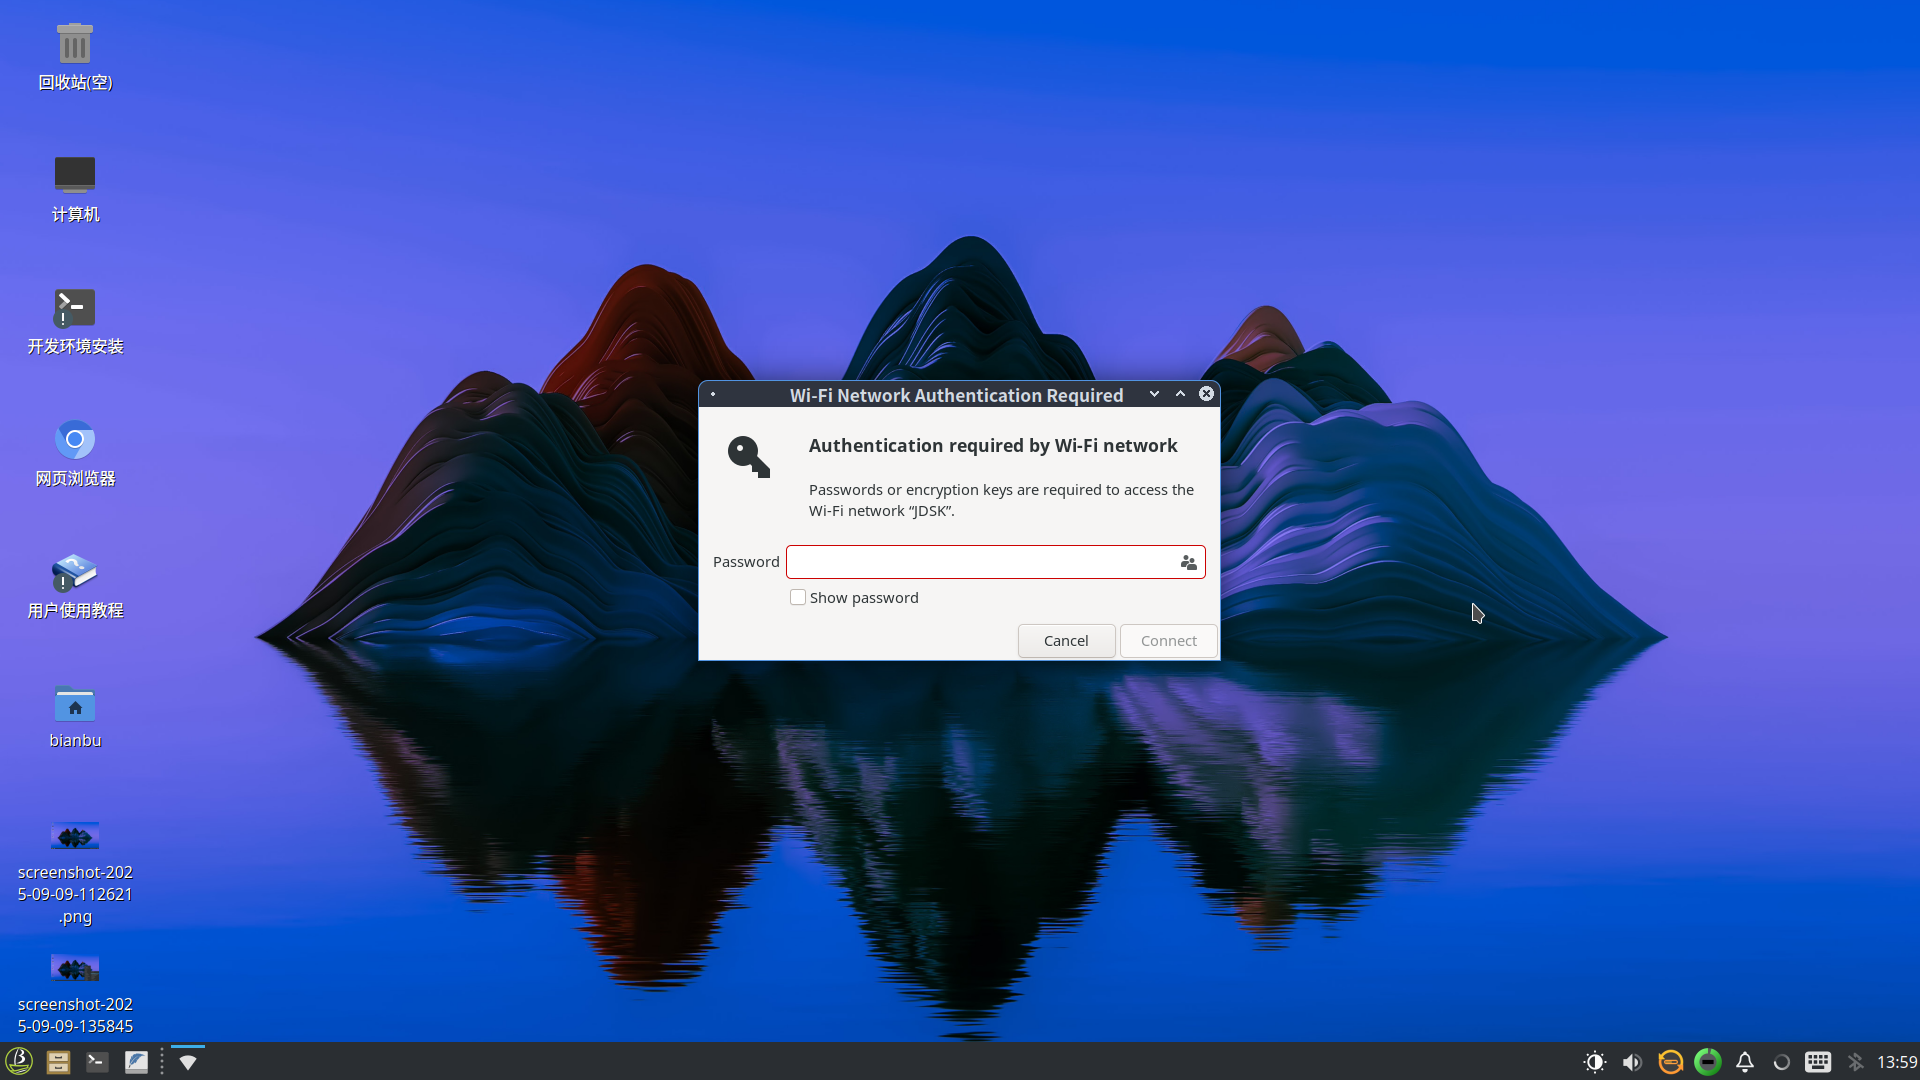
Enter the password and click Connect:
Enabling SSH Access
The SSH service is enabled by default. Verify its status with:
systemctl status ssh
If it is not running, start and enable it manually:
sudo systemctl start ssh
sudo systemctl enable ssh
Once active, you can log in remotely using any SSH client. For details, see Section SSH Login
Enabling VNC Access
Bianbu ROS supports remote desktop access using VNC, which is useful for GUI operations, debugging, and visualization tasks.
Start the VNC Service
Run the following command in a terminal to start VNC and allow connections from any host on the LAN:
wayvnc 0.0.0.0
This command listens on all network interfaces so that any device on the local network can connect to the desktop.
Restrict Access to Specific Hosts
To limit desktop access to a particular client, specify its IP address. For example:
wayvnc 192.168.9.109
Only the host with IP 192.168.9.109 will be allowed to connect.
For details on using remote desktop, see Section VNC Login